In brief
A property visualisation brief should explain the audience, intended use and required views, then bring together current drawings, material references, delivery formats and review contacts. Mark unresolved choices so the first images can be reviewed against a clear brief.
Start with the decision your image needs to support
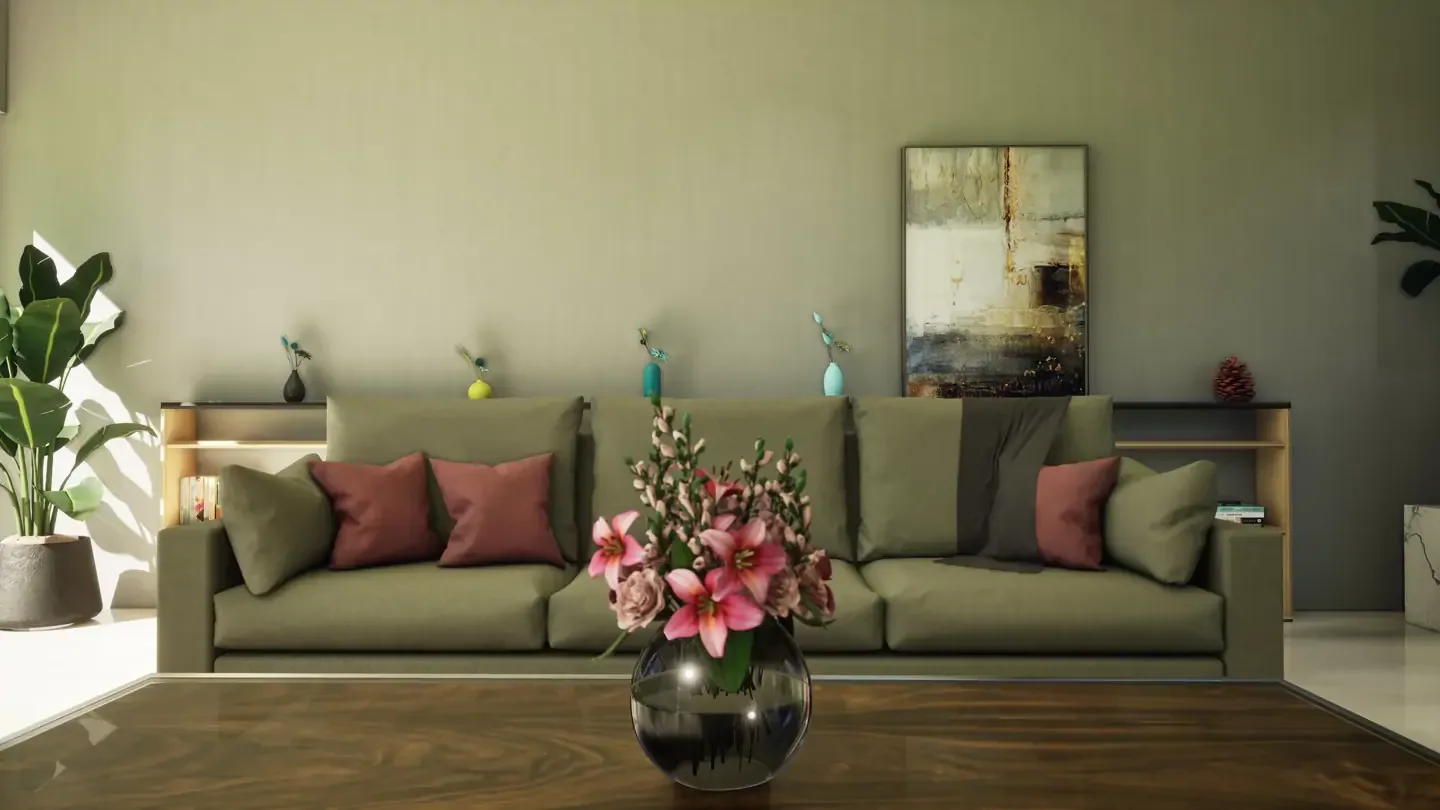
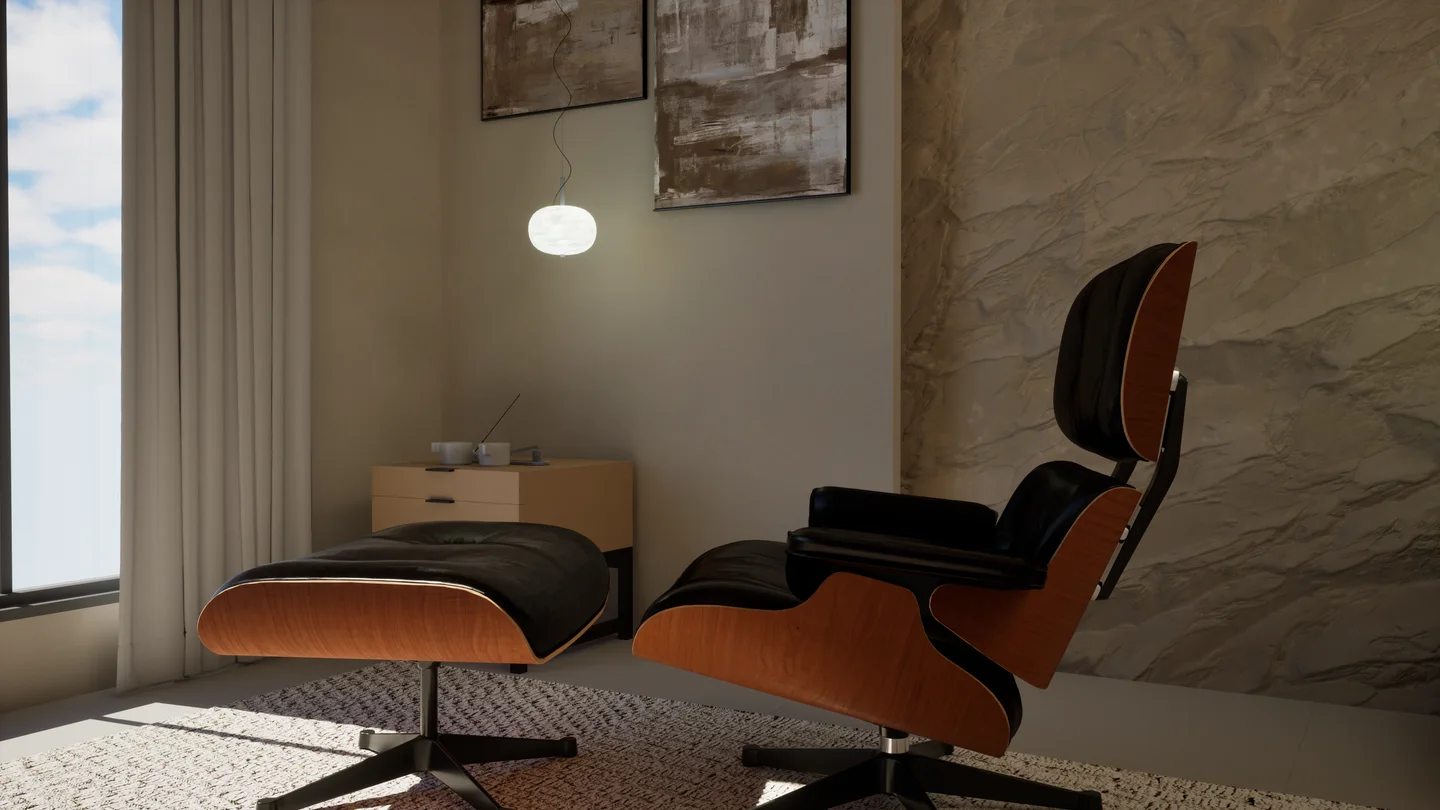
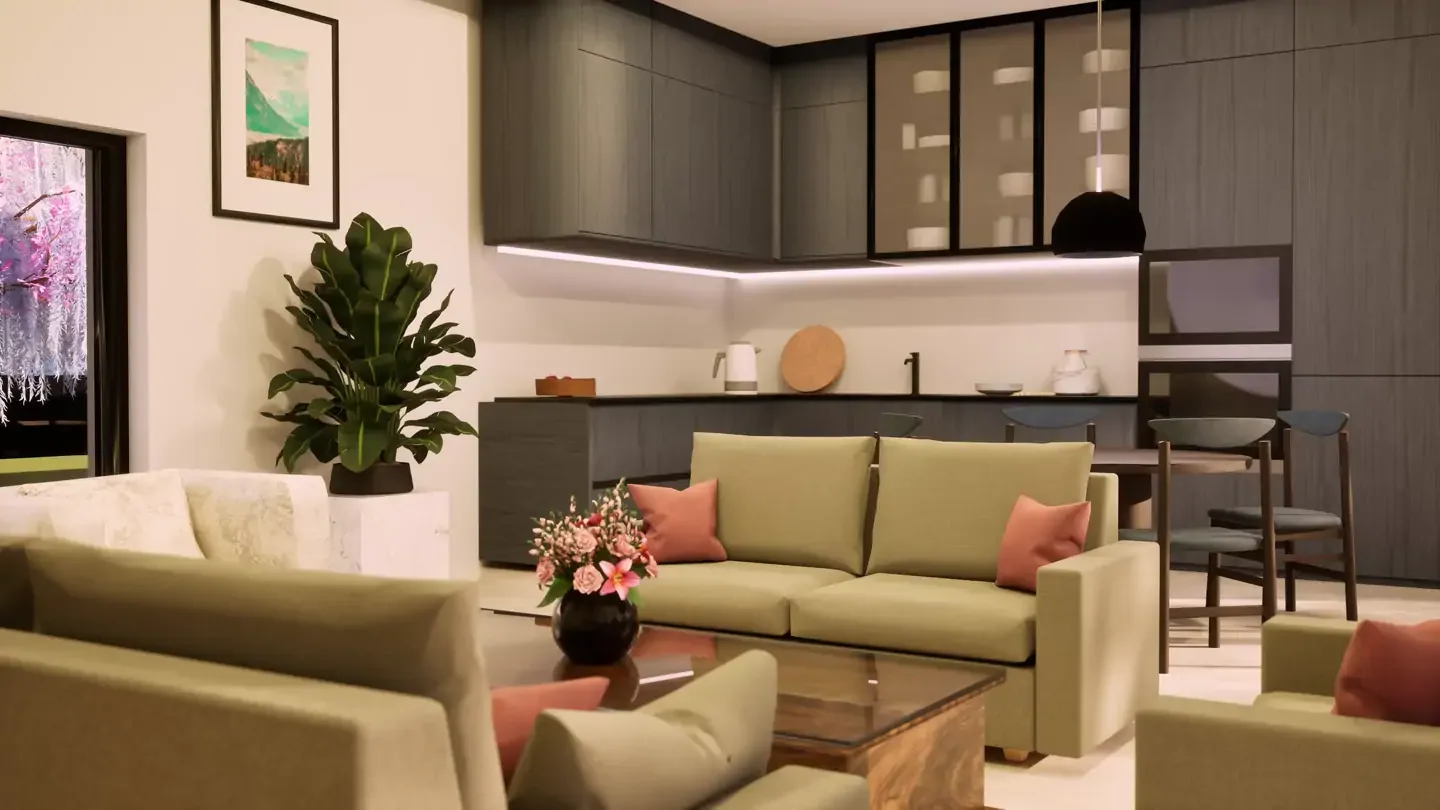
A useful property visualisation brief explains who will see the images, what they need to understand and where the images will appear. A sales brochure for a new home has different priorities from an interior presentation or a conversation about a proposed extension. Define that purpose before collecting references.
Describe the property in ordinary language. Is the appeal its connection to the garden, generous shared spaces or a carefully considered material palette? Choose two or three priorities. These give the visualisation team a clear basis for proposing camera positions, lighting and the balance between wider views and details.
Bring the right information together
Share the latest available plans, elevations and sections, with revision dates where possible. Include a model if one exists, along with site photographs and an indication of the surrounding context. Identify what is confirmed and what remains open to interpretation so an early visual does not quietly become an unintended specification.
Material references work best when they are specific. A product reference for brick, flooring or kitchen finishes is more useful than a general mood board alone. Add a sentence explaining what you like about each inspiration image: its warmth, composition, furniture arrangement or treatment of daylight.
- Current drawings and any available model files.
- Material, furniture and landscape references, with unresolved choices marked.
- A list of required views and the intended audience for each.
- Target delivery date, review contacts and final image formats.
Make reviews easy to act on
Agree who will gather feedback before production begins. Consolidated comments prevent two people from requesting conflicting changes. Review the layout and camera composition first, then materials and styling, and finally small finishing details. Annotated images with numbered comments are particularly helpful when discussing a room remotely.
Separate corrections from new ideas. If the brief changes, explain the reason and identify which outputs are affected. That makes it easier to agree the next steps and understand any effect on the schedule before further work begins.
Brief for the final destination
A website banner, property portal image and printed brochure each need a different composition or crop. Share the intended dimensions early, including any space required for headlines. Request a consistent set of approved images and keep a record of the finish choices they show. A clear handover helps the visualisation remain useful across the whole presentation.
Have an idea of your own? Talk to the studio